How to Clean a Mechanical Keyboard?
Many people ask, “How to Clean a mechanical keyboard,” or “How to clean your mechanical keyboard keycaps.” Mechanical keyboards nowadays are pretty expensive. When you buy something from your hard-earned money, you are careful to not damage your keyboard or tech.
In reality, Cleaning your mechanical keyboard is not a difficult task. In this article, we will help you clean your mechanical keyboard in three easy steps which are easy to follow.
We upload various articles related to keyboards, you can check them out here. Without wasting any more valuable time, lets get straight into it.

How to Clean your Mechanical keyboard Keycaps in Three steps
In these three steps we will guide you on how to clean Mechanical Keyboards.
Step 1 – Remove Keycaps
The first step is to own a mechanical keyboard—well, duh. Jokes aside, the first step involves taking a picture of your keyboard before removing the keycaps. Once you are done cleaning, putting those confusing keycaps back on will be a breeze.
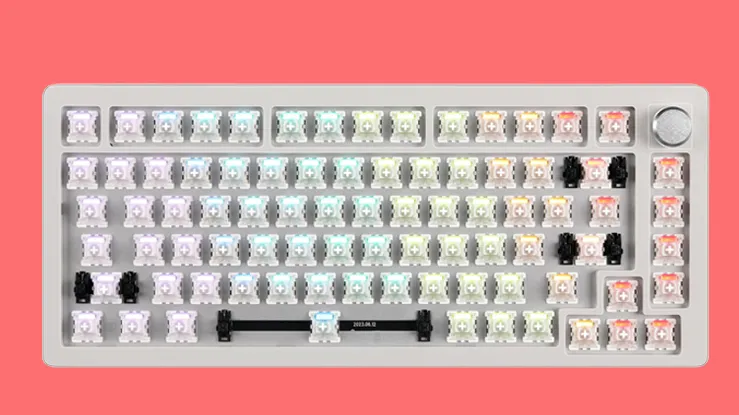
Use a keycap puller to Remove the keycaps gently and carefully. These are included when you buy a mechanical keyboard, and if not, you can buy them from Amazon. Oh and once you plan on cleaning your keyboard, make sure it is unplugged before you try to pull the keycaps off.

Step 2 – Clean Your Keycaps
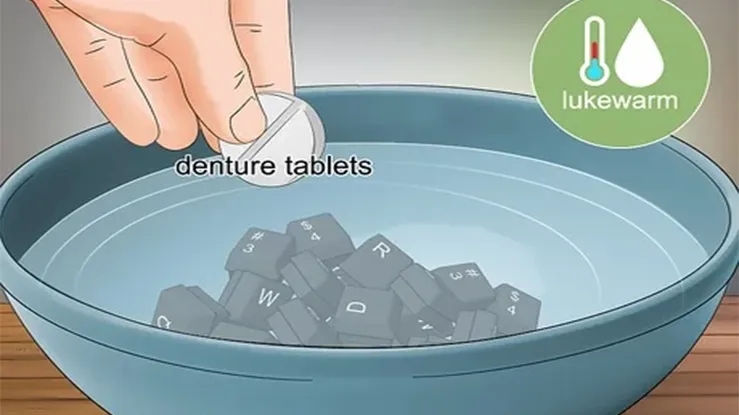
Once you have removed the keycaps, the next step is to wash them. Fill a container with water and add dish soup. Make sure the water is soapy. Put your keycaps in the water for 30-60 minutes, making sure they are properly submerged.
While your keycaps can wait, you need to itself. Use compressed air to remove any dust or debris that might get stuck, or you can even use a dry towel. Just make sure no liquid gets into the keyboard.
Step 3 – Dry those Keycaps
Once you have left the keycaps in water for an hour, remove them and clean them with a piece of cloth. Make sure to not leave any remaining grime or solidified dust.
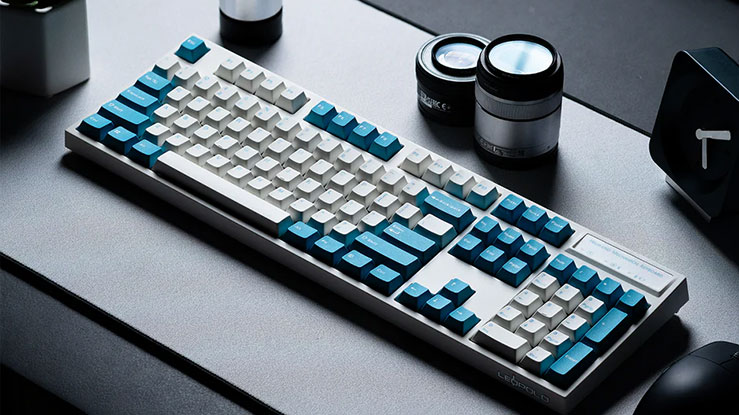
Put all your cleaned keycaps on a towel (Letter side up) and air dry them for about 6 hours. After 6 hours, you can put those keycaps back on your mechanical keyboard, and There you have it; your mechanical keyboard now looks clean and brand new.
How to clean a Mechanical Keyboard – Final Thoughts
If you are lazy like me and would rather avoid taking off the keycaps frequently, I have a solution for you. The only reason you need to clean your keyboard this way is when it is seriously dirty.
However, you can try buying a keyboard cleaning set. This will enable you to keep your mechanical keyboard clean using a brush that takes five minutes to use. The set also comes with a keycap puller and other goodies, which are essential for keyboard enthusiasts.
Some Frequently asked questions
How often should I clean my mechanical keyboard?
You don’t have to set a time frame to start cleaning your mechanical keyboard. Cleaning it regularly, like removing the dust using a cloth or compressed air, could be helpful. Or if it is a monthly service you are looking for, you can go for deep cleaning, as explained in the article. Knowing when to clean your mechanical keyboard depends ultimately on the condition of the keyboard itself. So, if your keyboard starts looking dirty, consider it a right time for some cleaning
How do you clean a mechanical keyboard without damaging it?
The only precaution you need to take to clean a mechanical keyboard without damage is to keep it away from liquids. Unplugging the mechanical keyboard to prevent electrical issues before cleaning is just the basics. Also, make sure to dry your keycaps entirely before putting them on again, and yeah, that’s right about it. Also keep your mechanical switches away from liquids from liquids as well.
How to clean mechanical keyboard after spill?
If you spill something on your mechanical keyboard, you might need to act quickly. First, unplug the keyboard to prevent electrical issues. Then, turn it upside down to remove the spill naturally, and use a cloth to dry what’s left of it. Remove the affected keycaps with a keycap puller, then clean any exposed areas. Wipe the surface and switches carefully with a damp cloth or cotton swabs dipped in isopropyl alcohol (90% or higher) to remove sticky residue, taking care not to saturate the switches.
Allow the keyboard to dry entirely by leaving it upside down in a well-ventilated area for at least 24 hours. Also, dont use a hair dryer, but let it dry naturally. Once the drying process is complete, reattach the keycaps and test your keyboard. During this process, avoid using harsh chemicals and powering them on while they are still wet.


